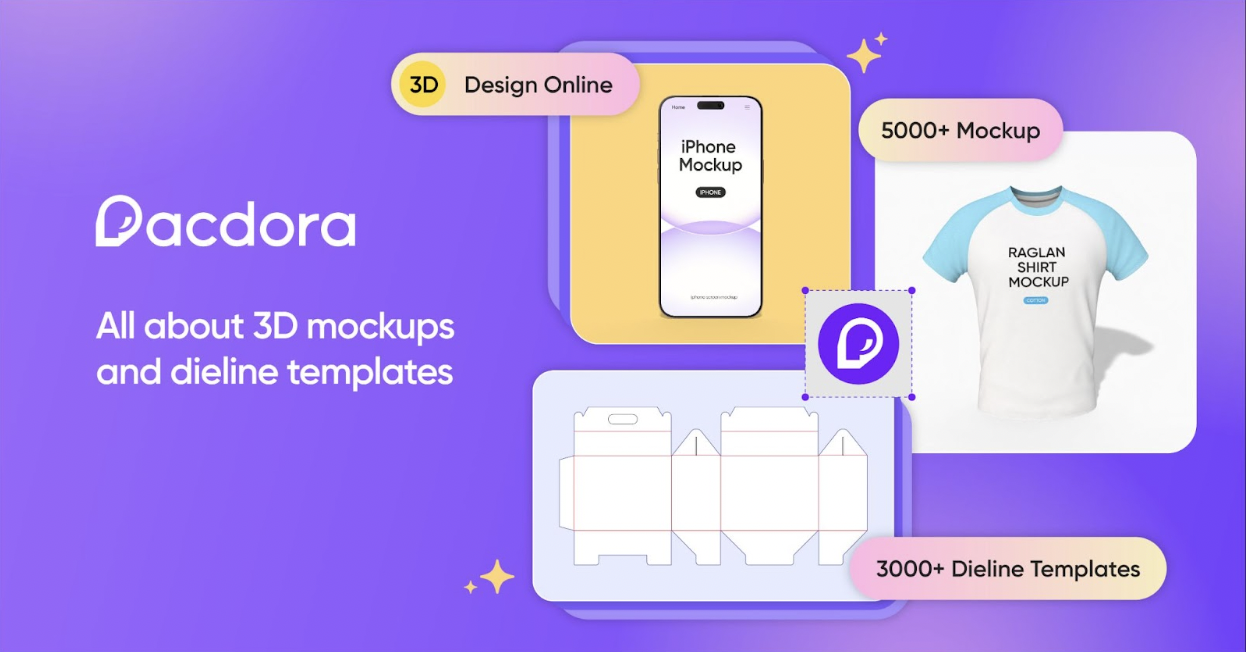
Create memorable mockups with Pacdora
SPONSORED BY PACDORA
If you have browsed design portfolios and wondered how in the world they can have such stunning images of their packaging designs, you have likely seen a lot of mockups.
Mockups help clients envision the final result and they let you add your own designs to a pre-made template you can use over and over. If you want to stand apart and make sure your final mockup really connects with your specific clients, it is important to have as much control as possible over the settings, backgrounds and lighting in your final images.
I started designing packaging 10 years ago and have spent countless hours (and more money than I care to admit) trying to work with mockups with very few options for customisation. Since I pay so much attention to the design work, I want mockups that do my work justice.
I recently found Pacdora and have not only loved their tools, but I have also been blown away by their team. It is nice to find tools made by people who understand designers. A few weeks ago, I created a video sharing my process using Pacdora for a stationary brand and I wanted to write this article to create a more step-by-step guide specifically for mockups. Let’s get into it!
If you want to give Pacdora a try, use the code KAYLA20 for 20% off.
When are mockups helpful?
Before we can print a design and have discussions with a physical test in our hand, mockups help both us and the clients envision what the final design will look like. Sometimes a layout or font size might look great on the screen, but once we see it in context, it is a different story.
Being able to catch these issues early on saves both time and money. Personally I also feel like it builds more trust with your clients. For this exact use case, I think 3D models are the even better option. In Pacdora, you can bring up your design during a meeting and talk through each side as you zoom in or rotate the packaging.
Mockups can also be helpful when you want to show a scene that is hard to photograph. This might be packaging flying in the air or with a magical background for example. This is a great way to bring more energy to your mockups and can work particularly well for portfolios.
What makes a mockup effective?
The goal of a mockup is to be so good that it could be mistaken for a photograph. Mood and real world applications are really important in getting that result. Make sure you are picking scenes and backgrounds that fit in with your client’s day to day. Like a set wooden table for a rustic restaurant or a minimalist office for a modern tech brand.
At the same time, we want all our choices to help highlight the actual product, not distract from it. As you edit and try things out, take a step back and make sure your design takes center stage.
Lastly, a slightly nitpicky detail that makes a huge difference. Pay attention to shadows and lighting. If you are using Pacdora to create mockups with a simpler background colour or using their background generator (soon available for all users), this will all be sorted for you. However, if you have a background image you sourced somewhere else that you think would be perfect, make sure the lighting in the image and on your mockup matches.
Getting the most from your mockups
Besides being invaluable in concept presentations and on your portfolio, mockups can also help you stand out on social media. Since you can preview the 3D designs and move them around, you can quickly create short form videos by recording your screen as you interact with your mockups. You can also export multiple angles and create an image compilation.
Creating mockups in Pacdora
Pre-made templates or custom sizing
If you are designing for a type of packaging that has standard sizes - like a pouch or bottle for example, you can find a lot of pre-made mockup templates in Pacdora.
However, if you are creating a more custom box, or one that is hard to find a pre-made template for, you can choose to start by adding your own information in the dielines tab. Dielines are like a blueprint for the printing company to create the finished packaging. This is not just a great way to create a custom mockup, but it also lets you download ready to use dielines if this is not something you get from the printer.
Once you have selected your pre-made mockup or added your own custom dimensions, it is time to upload your design.
Editing your mockup in Pacdora
With your design added, head over to the 3D design space. Here you can interact with your packaging and customise the details of your mockup - like adjusting the lighting, background and scene.
If you are showing your design to a client, a simple single copy of your packaging can be the best choice. For your portfolio and social media, try playing around with the pre-made scenes for a more custom look.
If you can’t find that perfect background image and you feel like a single colour is not enough to set the scene, you can try out the background generator. Here you simply add your design and then cycle through options until you find one you love.
Examples from Pacdora’s background generator
Regardless if you are designing for a T-shirt, drink or iphone, mockups help make your design more real. I hope these tips sparked some ideas and that you are excited to get started! Best of luck with your mockups 🙌
If you want to learn more about packaging design, have a look at this video!


